

Making a JavaScript Calculator
creating Javascript calculator tutorial with code examples and explanation


It's no longer news that when beginners embark on their programming journey in the JavaScript field, they look for projects that can help them to actually start using the knowledge they have been stocking. And one of the generally recommended projects is "The JavaScript Calculator", I was also in that position, that is why I have decided to give back, making it simple for beginners to understand.
When I first sort for examples of the javascript calculator, I was met with complex codes that was trying to handle a basic problem. It was similar to the saying "Trying to kill a cockroach with a sledge hammer."
So, I am going to try to break this process into two different patterns one where the solution would be done in the html file, within the elements and one where it will be done in a '.js' file. Without further ado, lets get to working.
Firstly, you need to create your work folder within your working directory, this is because you don't want to spend 5 minutes looking for a project folder when you want to work on it. So now within your folder create an html page like this
<main>
        <div class="container">
            <div class="calc-border">
                <div class="second-border">
                    <form name="calc" class="calc">
                        <h6>JS Calculator</h6>
                        <textarea name="answer" id="screen" cols="30" rows="10"></textarea>
                        <div class="operators">
                            <input type="button"  id="clear">
                            <input type="reset" >
                            <input type="button" >
                            <input type="button"  >
                            <input type="button" >
                            <input type="button" >
                            <input type="button" >
                            <input type="button" >
                        </div>
                        <div class="numbers">
                            <input type="button">
                            <input type="button" >
                            <input type="button" >
                            <input type="button" >
                            <input type="button" >
                            <input type="button" >
                            <input type="button" >
                            <input type="button" >
                            <input type="button" >
                            <input type="button" >
                            <input type="button" >

                        </div>

                    </form>
                </div>
            </div>
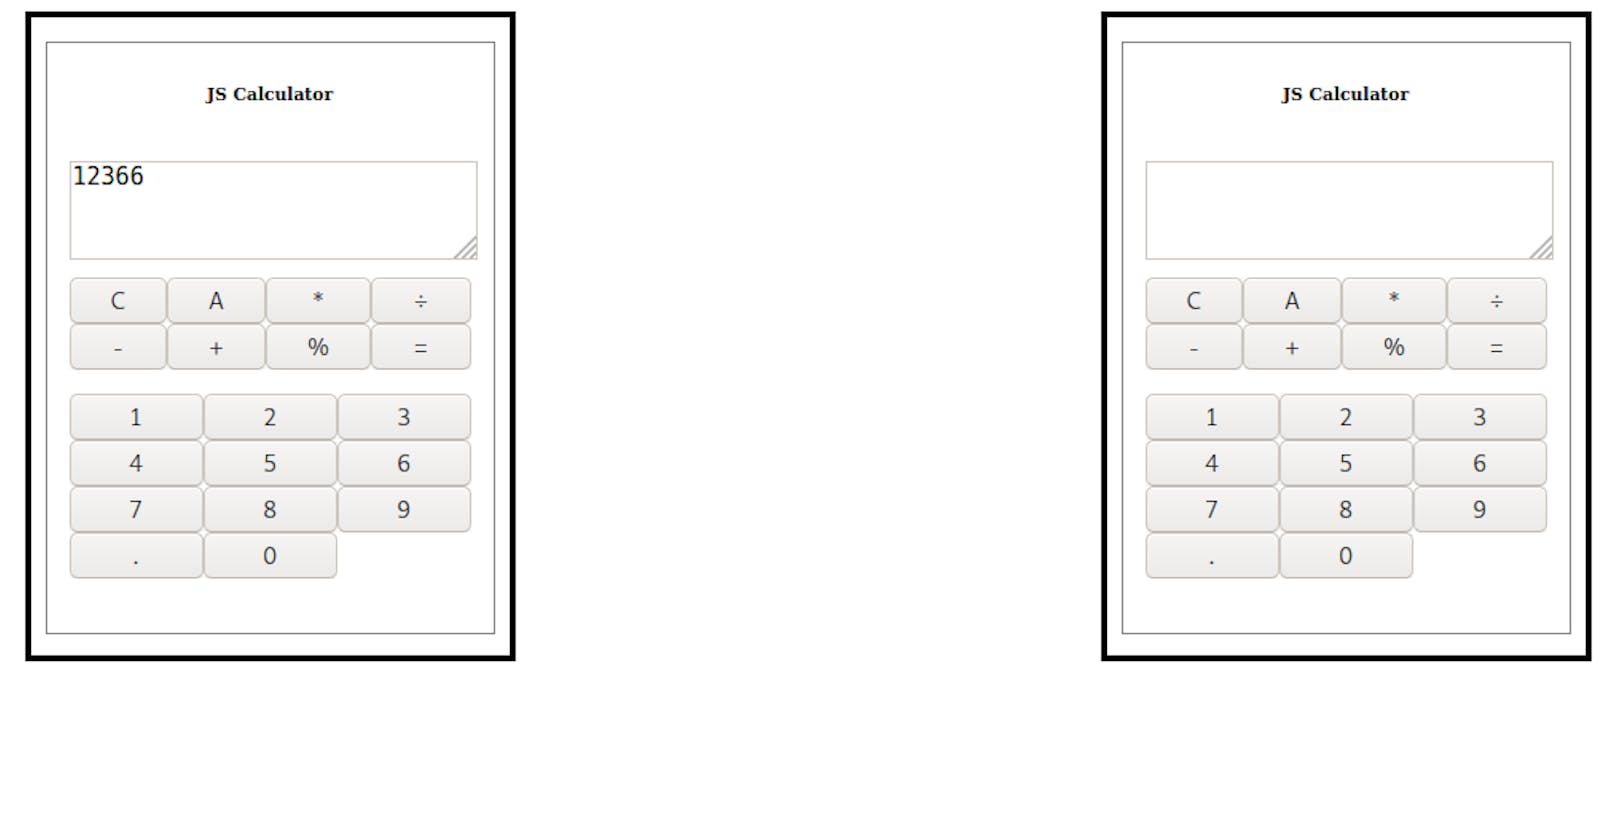
I know the the above HTML layout looks quite self explanatory but I'll still try to explain it to you. The 'container', 'calc-border' and 'second-border' all function as the calculator layout, you see that when we add the CSS. The 'form' element has the 'name' and 'class' of 'calc', this is very important and you will see why we had to add a 'name' attribute. So the buttons with the class="operators" div should house our basic operators that you know.
Now lets add the values of our 'input' element, it already has the 'type' attribute of 'button', as that is all we want it to serve as in our calculator. it should look like this;
<div class="operators">
       <input type="button" value="C" id="clear">
       <input type="reset" value="A">
       <input type="button" value="*" >
       <input type="button" value="÷" >
       <input type="button" value="-" >
       <input type="button" value="+">
       <input type="button" value="%" >
       <input type="button" value="=" >
 </div>
Same should be done for the class="numbers" div, it should look like this;
<div class="numbers">
      <input type="button" value="1" >
      <input type="button" value="2">
      <input type="button" value="3">
      <input type="button" value="4" >
      <input type="button" value="5" >
      <input type="button" value="6" >
      <input type="button" value="7" >
      <input type="button" value="8" >
      <input type="button" value="9" >
      <input type="button" value="." >
      <input type="button" value="0">

</div>
Over to the styling, so our page has the calculator layout, you can decide to create a separate CSS file to reference in you HTML file or you can do everything in the <style></style> tags within the HTML file. But I'd advice you to always separate your file as that is the best practice. Add the following code as your CSS code, so we'd be certain we a working on a calculator, code below;
.container {
display: block;
}
.calc-border {
    width: 300px;
    height: 400px;
    margin: auto;
    border: 4px solid black;
}
.second-border {
    border: 1.5px solid gray;
    width: 280px;
    height: 370px;
    margin: 15px auto;
}

.calc {
    display: flex;
    flex-direction: column;
    width: 90%;
    margin: auto;
}
h6 {
    text-align: center;
}
#screen {
    width: 100%;
    height: 60px;
    margin-top: 10px;
    font-size: 15px;
}
#display {
    width: 100%;
    height: 60px;
    margin-top: 10px;
    font-size: 15px;
}
.operators {
    display: grid;
    grid-template-columns: auto auto auto auto;
    grid-column: 1/2;
    margin-top: 10px;
    font-size: larger;
}

.numbers {
    font-size: larger;
    display: grid;
    grid-template-columns: auto auto auto;
    margin-top: 15px;
}
now that we have our calculator layout, lets move to the main focus, the JavaScript in the calculator, like I said earlier we'll make this inline of our element, we'll use the JavaScript 'onclick' method to handle the event, like this :
<input type="button" value="*" onclick="document.calc.answer.value += '*'"> this is the equivalent of ;
     document.getElementById(target).addEventListener('click', function() {
     // This adds the value of the button clicked to the calculator screen
      document.getElementsByName('answer').value += '*'
})
This is where I'll explain the name attribute I told you is important, The following code uses the name attribute 'calc' in the form element to target the name attribute 'answer' in the text area element like an object property, you see the magic with the name attribute onclick="document.calc.answer.value += '*'"> The '+=' operator joins the recently clicked button value to the value that might already be in the calculator if the '=' operator was use alone, it would replace what ever value the screen value had.
so lets proceed to add our JavaScript to the elements, it should look like this;
 <div class="operators">
      <input type="button" value="C" id="clear">
      <input type="reset" value="A">
      <input type="button" value="*" onclick="document.calc.answer.value += '*'">
      <input type="button" value="÷" onclick="document.calc.answer.value += '/'">
      <input type="button" value="-" onclick="document.calc.answer.value += '-'">
      <input type="button" value="+" onclick="document.calc.answer.value += '+'">
      <input type="button" value="%" onclick="document.calc.answer.value += '%'">
      <input type="button" value="=" onclick="document.calc.answer.value =
      eval(document.calc.answer.value)">
</div>
<div class="numbers">
     <input type="button" value="1" onclick="document.calc.answer.value += '1'">
     <input type="button" value="2" onclick="document.calc.answer.value += '2'">
     <input type="button" value="3" onclick="document.calc.answer.value += '3'">
     <input type="button" value="4" onclick="document.calc.answer.value += '4'">
     <input type="button" value="5" onclick="document.calc.answer.value += '5'">
     <input type="button" value="6" onclick="document.calc.answer.value += '6'">
     <input type="button" value="7" onclick="document.calc.answer.value += '7'">
     <input type="button" value="8" onclick="document.calc.answer.value += '8'">
     <input type="button" value="9" onclick="document.calc.answer.value += '9'">
     <input type="button" value="." onclick="document.calc.answer.value += '.'">
     <input type="button" value="0" onclick="document.calc.answer.value += '0'">
</div>
Take note of the last button in the operators div, this handles the aggregation of the values in the calculator screen, it uses the eval method to handle the value in the screen.
eval() is a function property of the global object (inbuilt JavaScript function).
The argument of the eval() function is a string. If the string represents an expression, eval() evaluates the expression. If the argument represents one or more JavaScript statements,eval() evaluates the statements. Do not call eval() to evaluate an arithmetic expression; JavaScript evaluates arithmetic expressions automatically.
click for more on eval function
This completes the first part of the Tutorial, handling the JavaScript within the HTML elements. Lets move on to the next where we either handle the JavaScript with html <script></script> tags or in a separate '.js' file.
The Html layout will look the same but without the inline JavaScript like this;
 <div class="calc-border">
                <div class="second-border">
                    <form class="calc">
                        <h6>JS Calculator</h6>
                        <textarea  id="display" cols="30" rows="10"></textarea>
                        <div id="keys">
                            <div class="operators">
                                <input type="button" value="C" id="clear">
                                <input type="reset" value="A">
                                <input type="button" value="*">
                                <input type="button" value="÷">
                                <input type="button" value="-">
                                <input type="button" value="+">
                                <input type="button" value="%">
                                <input type="button" value="=">
                            </div>
                            <div class="numbers">
                                <input type="button" value="1">
                                <input type="button" value="2">
                                <input type="button" value="3">
                                <input type="button" value="4">
                                <input type="button" value="5">
                                <input type="button" value="6">
                                <input type="button" value="7">
                                <input type="button" value="8">
                                <input type="button" value="9">
                                <input type="button" value=".">
                                <input type="button" value="0">

                            </div>
                        </div>

                    </form>
                </div>
Now over to the JavaScript, first of all, get all major elements
let keys = document.getElementById('keys');
let display = document.getElementById('display');
keys variable for all the buttons available in the calculator, display variable is the screen of the calculator, the rest of the code below, I'll explain
keys.addEventListener('click', function(e) {

    if(e.target.value === 'C') {
        newValue = display.value.slice(0, -1);
        document.getElementById('display').value = newValue;
    }else if(e.target.value === '=') {
        document.getElementById('display').value = eval(display.value);
    } else {
        document.getElementById('display').value += e.target.value;
    }
})
The first is we listen for a click event on any of the buttons, we are going to be using events delegation, that is checking for the value of the clicked button and this has to do with all the elements within the keys div. The callback function of the addEventListener method takes a 'parameter' , I have chosen 'e' short for 'event'.
The logic is quite simple, remember we gave values to the input elements in our form, now we check for those elements, e.target refers to the clicked element within the 'keys' div. so we say if the value of our target is equal 'C' we are using the strict operator '===' here, so if it is equal 'C' JavaScript should slice from the beginning to the end of the display value and assign the new content of the value to the 'newValue' variable and change the value of the display to this new value.
The we use the else if() statement to say, but if the value of the clicked button is '=', then evaluate the expression in the display, using the eval() function that I explained above.
And if it is neither 'C' nor '=', join the value to the existing value on the screen, in case it isn't empty.
That is it for your basic JavaScript calculator, I hope that I was able to break it down enough for you to understand. I really want you to understand what is actually going on in the code.
Thank you for reading, check back for more from this page. Happy Coding!