When you begin your journey as a Pythonista, you begin to actually worry about what's possible and how you can replicate everything that has been done with Python, and how fast you can get to that point. I want to assure you that most of the hard work has been done for you by people who started before you, there are modules that have be created to help solve half of your problems all you have to do is look in the right direction.
Today, I'm going to help you learn how to do a basic image to text conversion with packages on pip, most tutorials online about image to text are filled with bugs, because they haven't been maintained and their dependencies are outdated. I personally encountered that problem trying to satisfy my curiosity, so I took my time to get the desired result.
Let's jump right in, first, since it is Python we are going to be working on Linux, as you that is arguably the best environment for Python development.
We need to install the most important part of this project, the Tesseract OCR (Optical Character Recognition) Engine, this can be used in the terminal get the text from images but that's not all we want to achieve by the end of this article, you should be able to covert to text, translate, and also convert text to speech.
Now let's install Tesseract OCR run the command $ sudo apt update and $ sudo apt-get install tesseract-ocr to install the tesseract OCR after it's installed, run tesseract -v to get the version an see if it has been correctly installed. You'd get something like this;
tesseract 4.1.1
 leptonica-1.79.0
  libgif 5.1.4 : libjpeg 8d (libjpeg-turbo 2.0.3) : libpng 1.6.37 : libtiff 4.1.0 : zlib 1.2.11 : libwebp 0.6.1 : libopenjp2 2.3.1
 Found AVX
 Found SSE
 Found libarchive 3.4.0 zlib/1.2.11 liblzma/5.2.4 bz2lib/1.0.8 liblz4/1.9.2 libzstd/1.4.4
Now as aspiring magicians, lets perform the first magic, we'll use the following image as an our example

In your terminal run $ tesseract <path to the image> stdout in my case I changed directory to my document folder, it will be easier to locate the image.
user@ubuntu:~/Documents/imagetotext/img$ tesseract text3.jpg stdout
DO SMALL
THINGS
WITH GREAT
LOVE
Tadaaa! Your output should look like the above. I should tell you this, you will not always get the desired result sometimes you'd have to tweak the images or correct the text after extraction.
On to the next, we'll be working on our code editor, create a '.py' file in your work folder, move the image to the work folder. Now back to the terminal lets install the packages needed to execute all we want. we'll be doing this using 'PIP' incase you are not conversant with it, 'PIP' is a package-management system for Python and it houses loads of packages that other developers have worked on and made available.
You are likely to already have pip installed if you don't checkout this article if pip is ready run, $ pip install pytesseract, $ pip install pillow this used to be PIL but PIL is no longer maintained so 'pillow' is the forked version that is currently maintained, next $ pip install googletrans==3.1.0a0 for translation , $ pip install pyttsx3 for text to speech, for text to speech to work you need to install libespeak1 without it you would get errors using the 'pyttsx3' package, run $ sudo apt install libespeak1. It is normal to see $ pip install googletrans on many articles but that would throw errors to your console as changes was made to the package and it results in errors.
For the Tesseract OCR to work with Python in your text editor you need to install "libtesseract-dev" run $ sudo apt install libtesseract-dev.
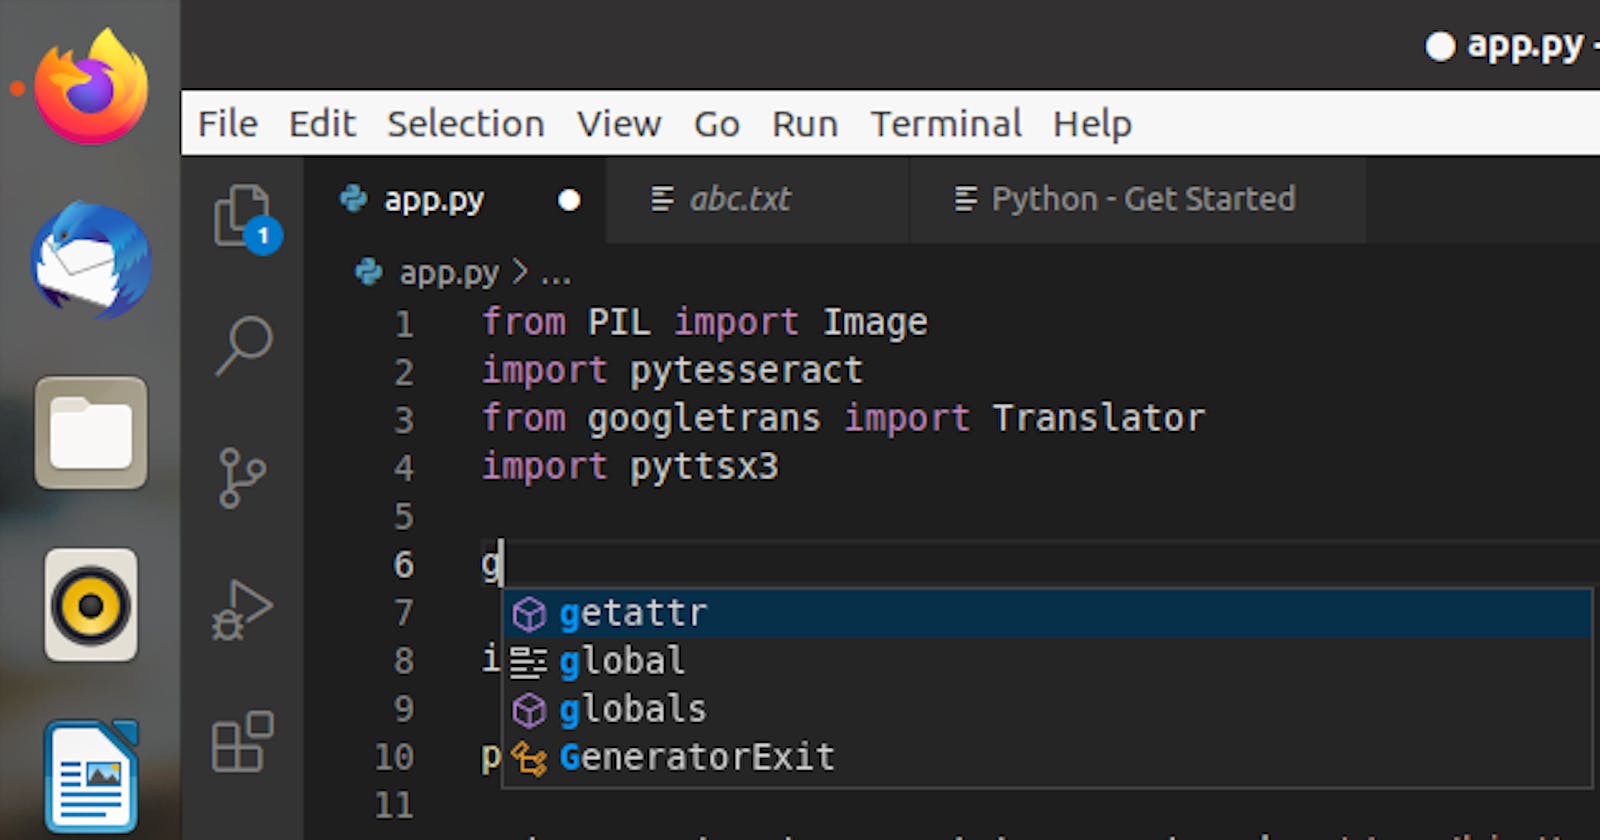
Back to the code editor import all packages like ;
from PIL import Image
import pytesseract
from googletrans import Translator
import pyttsx3
Now you have to open the image with 'PIL' to get the details of the image,
img= Image.open('<path to image>')

print(img)
then print the variable to see the outcome should look like this ```
This next part is crucial, you have to connect pytesseract to the path of the Tesseract OCR, most people get stuck at this point my path is '/usr/bin/tesseract' so add the code below, as this is likely to be your path as well
pytesseract.pytesseract.tesseract_cmd = '/usr/bin/tesseract```
Now use the pytesseract image_to_string() method to convert the 'img' variable to text. You can print your desired result if you want or you add to a new file, to do this add with open('abc.txt',mode ='w') as file:
file.write(result)
Your text has been saved to file, now you can translate your text to any language using the "googletrans package" with the code below
translator = Translator()
translated_result = translator.translate(result, dest='fr')
the translate method takes three parameters; the text to be translated this can be a string or a variable, the 'src' attribute the language of the text parsed, and the 'dest' attribute for the language you want it to be translated to. The 'src and 'dest' take abbreviations as arguments, i.e 'ko' for korean, 'en' for English and so on.
the above code will return a method, to get the translated text you have use the 'text' instance like this
translated_result.text .
now for speech to text add this;
engine = pyttsx3.init()
engine.say(translated_result.text)
engine.runAndWait()
First we initialize the pyttsx3 module, then we use the say()method to parse in the text we want as speech now we execute with the runAndWait() method, you will get the text as speech when you run the code.
Congratulation wizard, now the world is yours to dominate.
Thank you for reading.

