Create a Laravel Blog in minutes using Canvas
How to create a blog fast with Laravel
Trying to code a blog from scratch can be really tedious, exhausting and takes time. Getting started with blogging keeps getting easier and you can easily spin up a blog on Medium, Hashnode, Blogger, Tumblr etc and there are other pros with using them as they are build around a community. But it isn't really satisfying knowing that you aren't in total control of your blog and it is not hosted by you.
About Canvas
Canvas is an open source program that helps aspiring bloggers get their blogs up and running in no time, with the database and files self hosted. You need to be a bit techy to use this platform as it is written in PHP and the configurations are done in the .env file and some other files you don't have to know Laravel to be able to use this.
Creating your blog
If you are new to Laravel you would need to create an environment for Laravel, by installing Composer, Laravel. You can do that by following this guide Laravel 8 tutorial # how to install laravel - Youtube or the Laravel documentation.
To set up canvas you need to create a Laravel project, cd to the directory where you want to create the project then run laravel new <project name> or using composer run composer create-project laravel/laravel <project name>. After this is done, open your project in a text editor of your choice and cd to the project directory it is time bring in the canvas files.
Now run composer require austintoddj/canvas in your project directory.
Create a database and link to your .env file, you can do this with either xamp or you MYSQL in the terminal
DB_CONNECTION=mysql
DB_HOST=localhost
DB_PORT=3306
DB_DATABASE=<database name>
DB_USERNAME=<your database username>
DB_PASSWORD=<your database password if any>
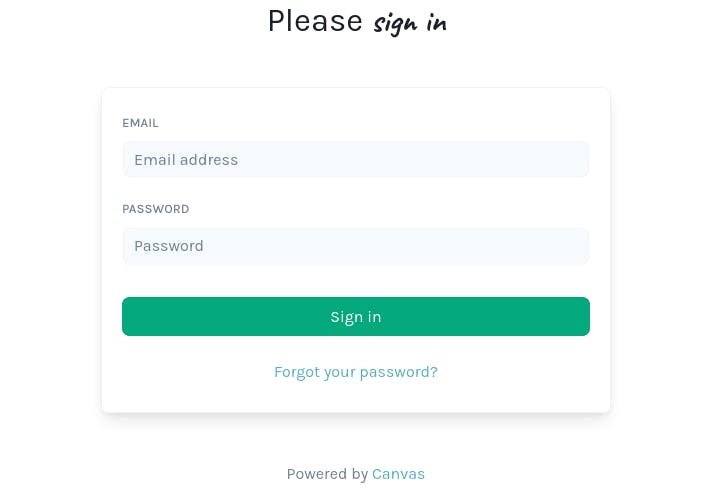
When you are quite sure that your database is well set up, run php artisan canvas:install and when it is done you will be given a default username and password you will be advised to login to the canvas blog system using a provided link but what you need to do is to start the Laravel server by running php artisan serve in your project directory follow the link provided http://127.0.0.1:8000/canvas/login you can login with your default login info.

You are advised to change the credentials. You can test some of the features but do not upload an image.
Run php artisan storage:link after this is installed it is okay to upload an image.
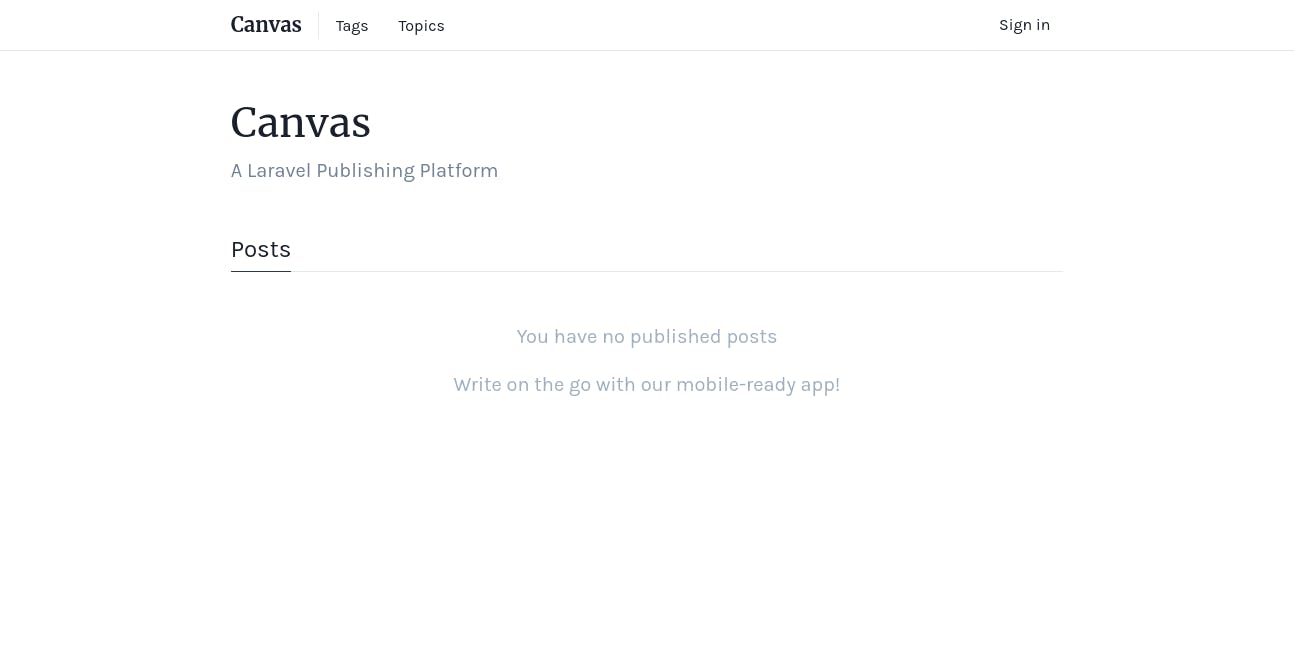
Run php artisan canvas:ui to install the user interface where users would be able to see your blog, after that is done in one breath run npm install && npm run dev to install and compile the program.

For more setup options you can as well visit the Canvas Website. Now you can go create that blog. This can be hosted to any platform that supports Laravel, you are in full control. Go make magic.
